

I typically veneer my cupboards and tables, shop-sawing the veneer so it matches strong wooden components of a chunk. And for a number of many years now I’ve been making lumbercore plywood as my substrate, as a result of I discover trendy sheet items irritating. Even high-quality veneer-core plywood typically comes with a bow to it, and I draw back from MDF because the heft of it may possibly make a small cupboard weigh 100 kilos! Lumbercore plywood, I found, solves each these issues and is sort of easy to make.
Lumbercore is a sandwich with veneers prime and backside and solid-wood sticks, or staves, laid side-by-side in between. Its crossband veneers restrict the motion of the staves, which, as an alternative of being edge-glued, are positioned collectively dry and separated by very small gaps that permit them to broaden and contract independently. The result’s a panel in a relaxed and secure state, and historical past has proven that it stays that approach.
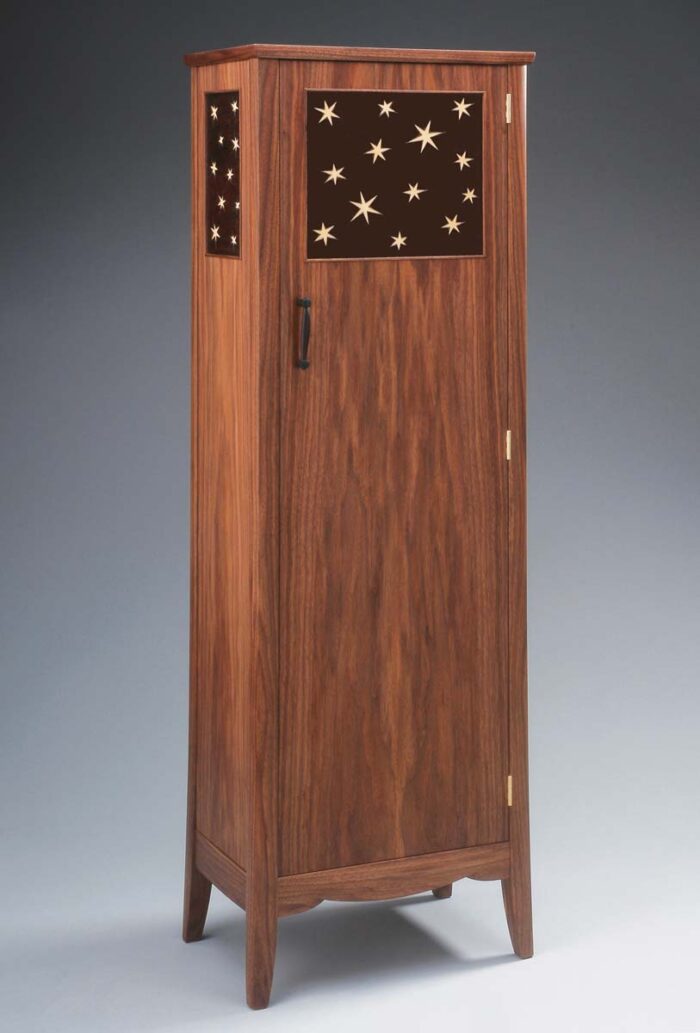
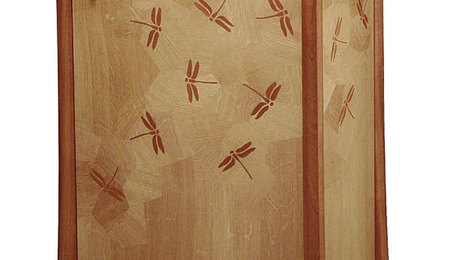
I used to be first uncovered to lumbercore once I constructed a number of tables to match originals in a Frank Lloyd Wright residence in Buffalo, N.Y. The unique tabletops have been veneered over a lumbercore substrate with a mitered solid-wood body. You’d suppose motion throughout the width of the desk would blow the miters aside. However proof from a desk within the museum confirmed the miters as tight because the day they have been assembled.
Along with the confirmed stability of the product, some great benefits of utilizing lumbercore are threefold: You may select the precise thickness of the panel, it’s light-weight, and it stays useless flat!
Staves
My lumbercore plywood has slim staves of strong basswood sandwiched between items of 1⁄16-in. poplar veneer. This crossband veneer is laid so its grain runs perpendicular to the staves.
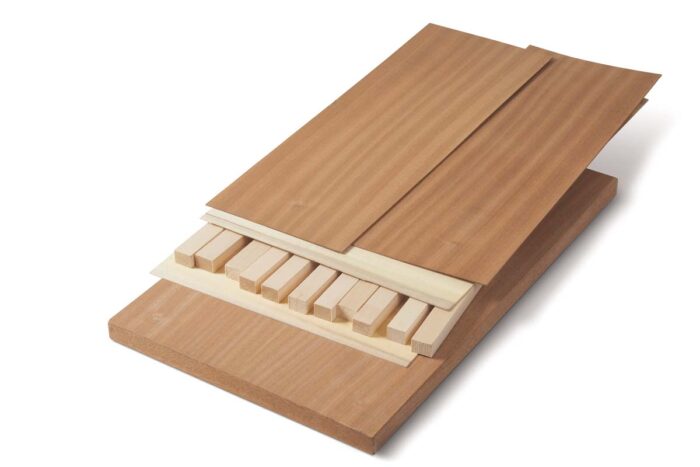
Then the face veneer is utilized with its grain perpendicular to the crossband veneer, so parallel with the staves.
I take advantage of basswood for the staves as a result of it’s available, light-weight, and has little motion for a hardwood. Poplar could be one other good selection. To find out the thickness of the staves, begin with the ultimate thickness of the panel and subtract the thickness of the face and crossband veneers.
I stack the 4 items of veneer and use calipers to gauge their whole thickness. Within the case of the panel I’m making right here, they whole 1⁄4 in. To finish up with a 7⁄8-in. completed panel, I subtract the 1⁄4-in. veneer thickness and arrive at a stave that’s 5⁄8 in. thick. In case you are utilizing industrial face veneer, gauge accordingly; the thinner veneer would require thicker staves to realize a given panel thickness.
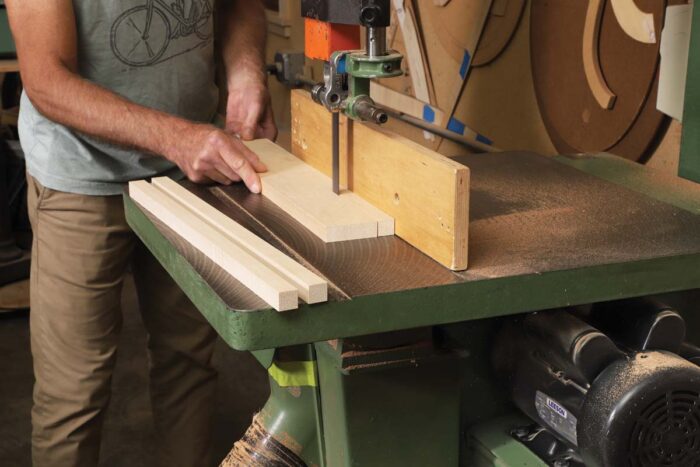
As soon as the stave inventory is milled to thickness, I rip it into 3⁄4-in.-wide staves on the bandsaw. I don’t joint the clean between cuts, because the staves received’t be edge-glued and their rough-sawn edges will assist create the small enlargement gaps between them. I crosscut the staves 1 in. longer than the completed panel.
Crossband veneer
I used to bandsaw my very own poplar veneer for the crossband layer, however since I take advantage of lumbercore so typically, I now buy large sheets of 1⁄16-in. poplar from a veneer provider (certainlywood.com) to all the time have it out there.
Measurement the crossband veneer so its width matches the size of the staves, and so its size matches the width of all of the staves when they’re calmly pushed collectively.
Gluing up the core
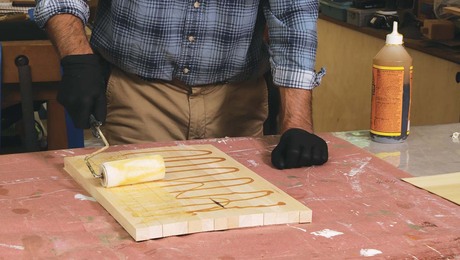
I take advantage of polyurethane glue to stick the crossband veneer to the staves, as a result of it doesn’t introduce any moisture to the meeting. I need my lumbercore to be stress-free, and a water-based glue might create an imbalance if I inadvertently utilized extra glue to at least one aspect than the opposite.
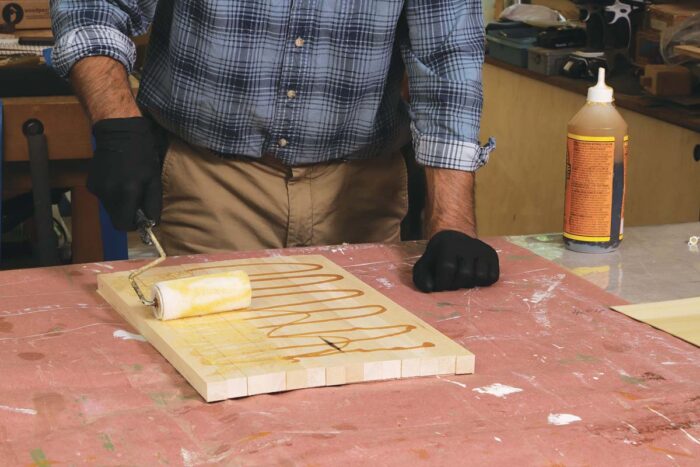
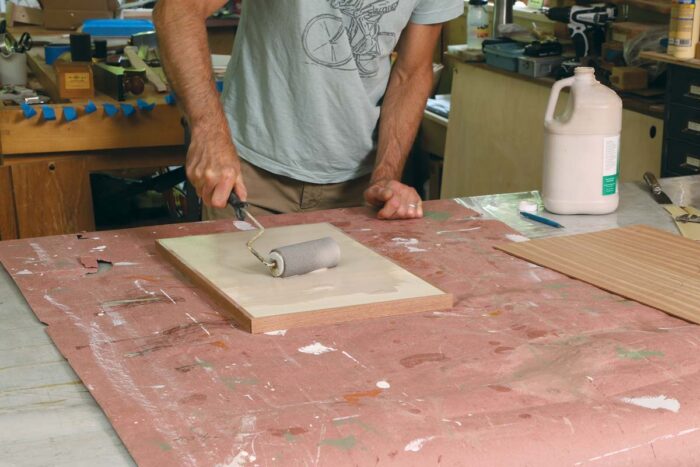
With the staves pressed collectively, I squeeze the polyurethane onto the floor and unfold it with a low-nap curler cowl made for adhesives. I take advantage of a curler versus a card as a result of I can unfold a extra uniform coating. All that’s wanted for bond is a skinny glaze of adhesive on the staves. Keep away from utilizing an excessive amount of.
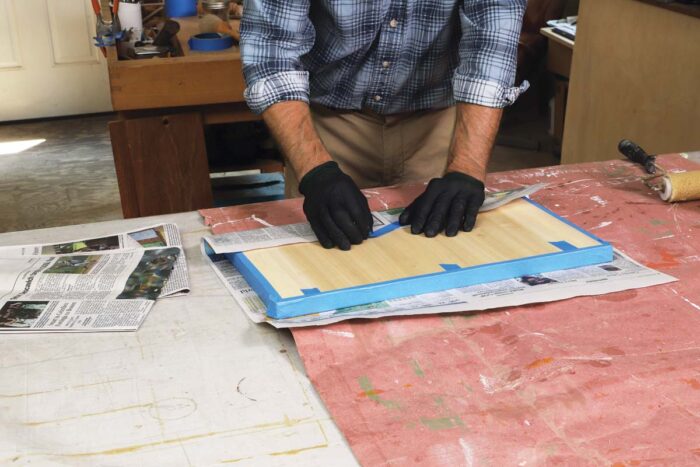
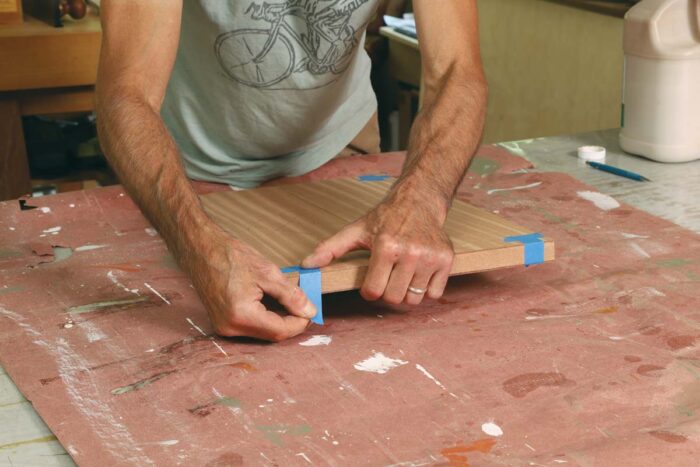
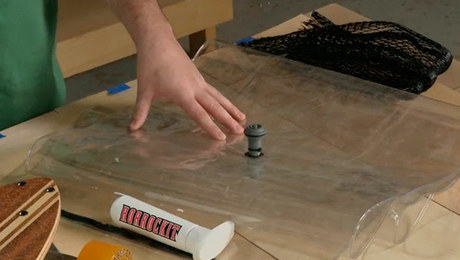
Polyurethane will be messy, and I don’t want it sticking to the within of my vacuum bag. To maintain the glue contained, I encompass the perimeter with large blue tape and wrap the taped-up panels with newspaper.
 |
 |
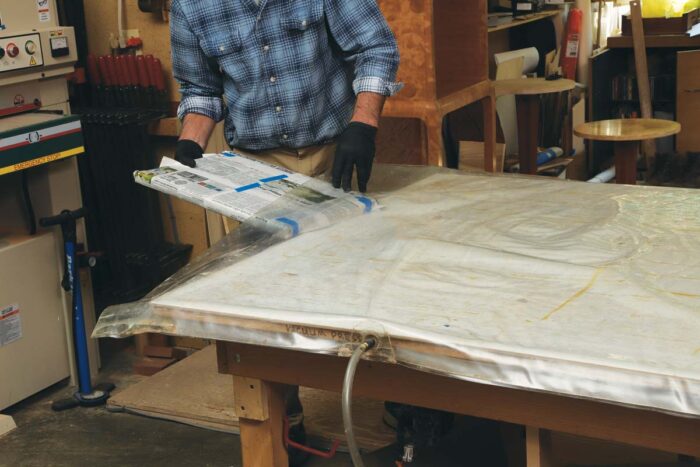
Panels keep within the vacuum press for 2 hours. Once they emerge, I stand them upright for a number of extra hours in order that air circulates on either side. On the finish of the workday, I stack the panels on prime of one another and canopy the stack with a chunk of plywood. If panels have been left to take a seat on the bench with one aspect uncovered as they cured, the uncovered aspect would reply to the ambient humidity and will start to warp.
 |
 |
As soon as cured, the panels are trimmed to dimension and made prepared for face veneers.
 |
 |
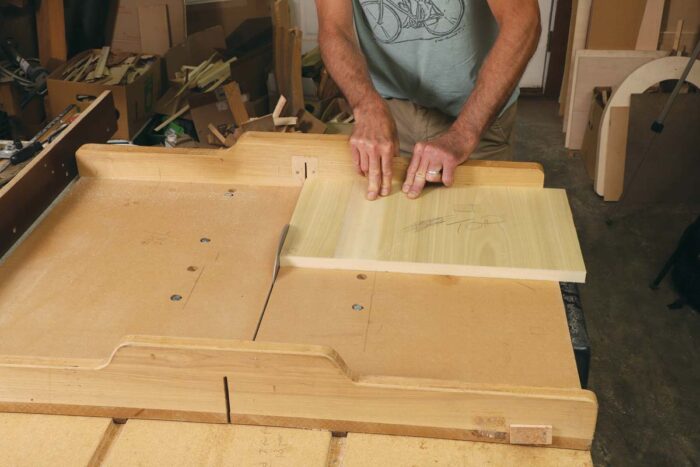 |
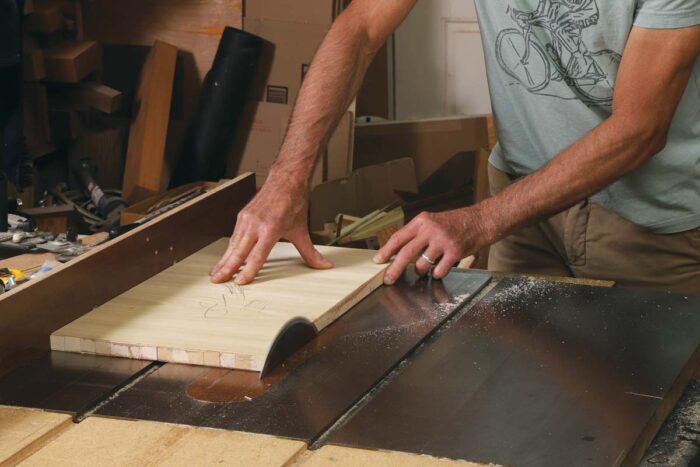
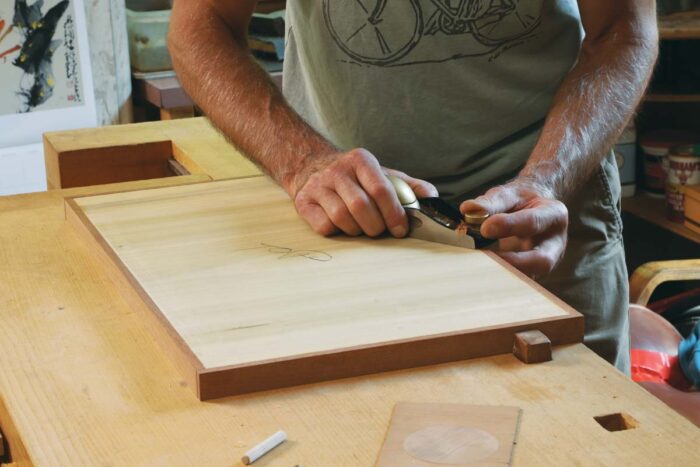
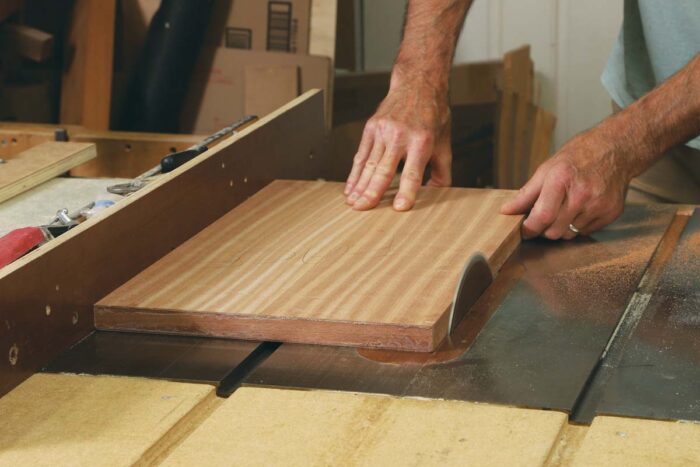
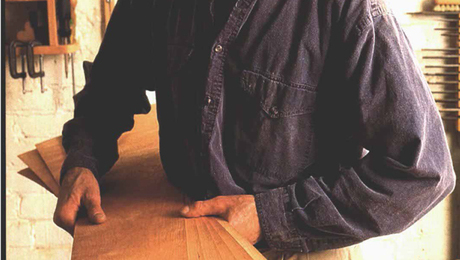
| Use a hand aircraft to trim the veneers flush to the stave on one aspect of the panel. Then, with the trimmed edge in opposition to the table-saw fence, rip the panel to width. Lastly, use a crosscut sled to chop it to size. | ||
Captured edge banding
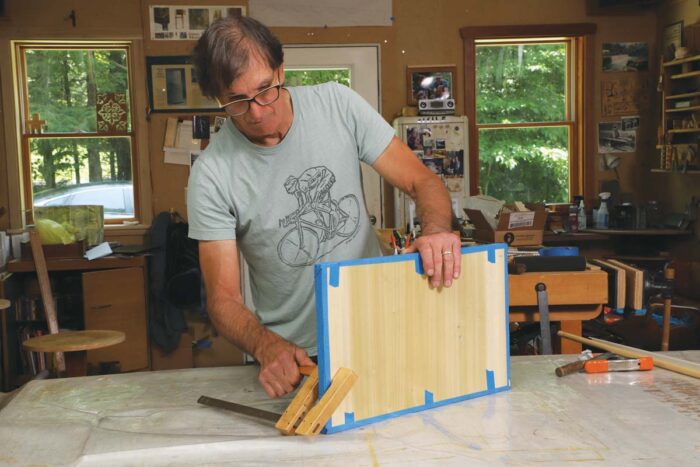
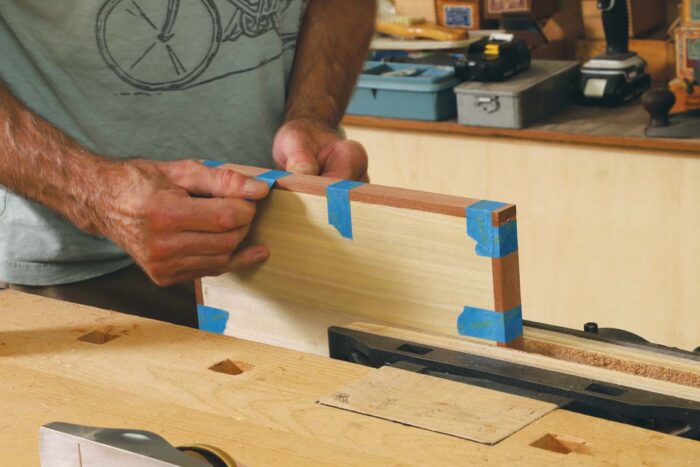
Lots of my designs name for captured edge-banding. That is strong edging that goes on after the crossband veneers however earlier than the face veneers, which cowl the edging prime and backside.
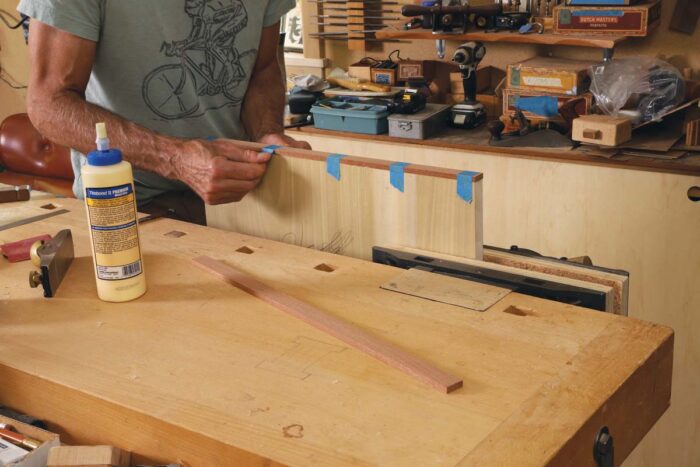
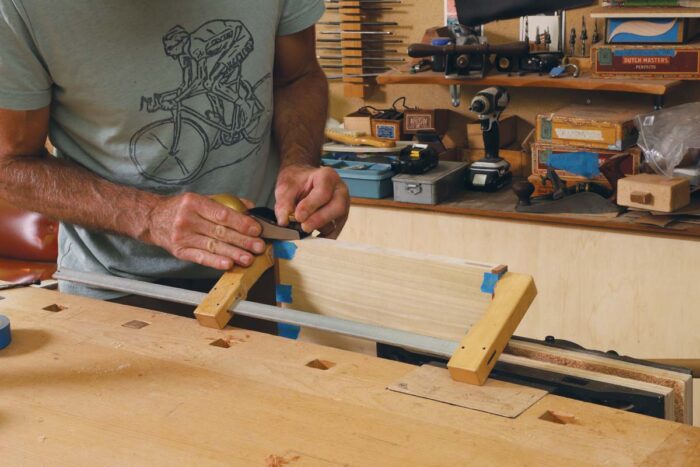
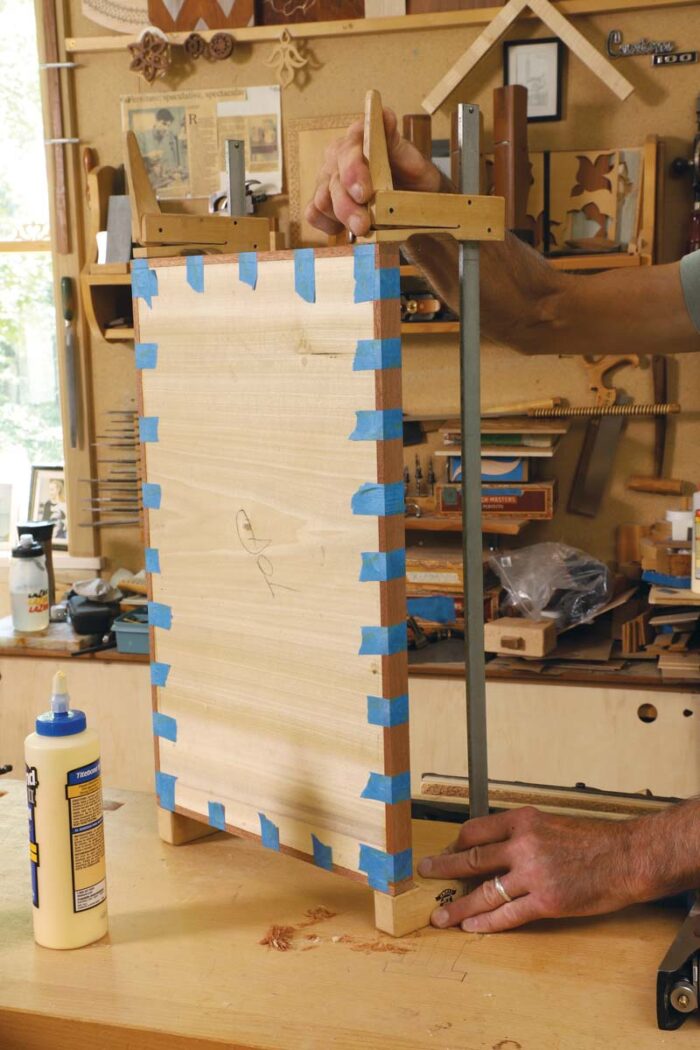
I glue the edging to the substrate, tape it in place, and flush it to the floor when dry. On the edges the place the edging is glued to the top grain of the staves, the crossband veneers present only a skinny layer of long-grain glue floor, however as soon as the face veneers are utilized, the edging is locked in place.
 |
 |
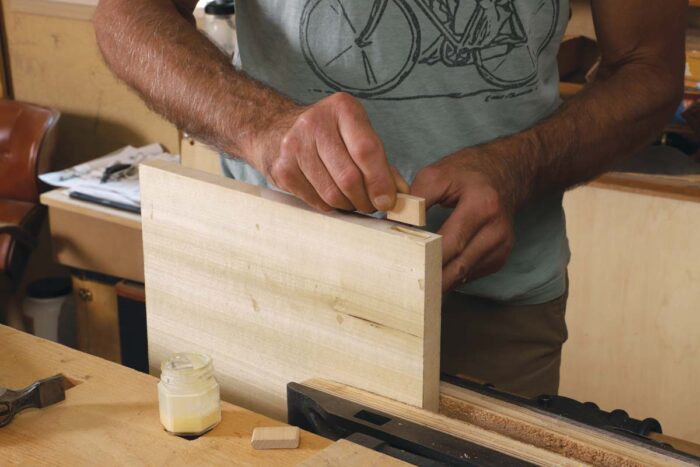
I mill the sting inventory 3⁄8 in. thick. For captured edge-banding I need a last thickness of 1⁄4 in., since something a lot thicker than that has the potential to telegraph by way of the face veneer. However I make it 1⁄8 in. thicker initially to permit for trimming the panel to last dimension.
Another therapy is utilized edge-banding, which works on after the face veneers. Right here the banding will be thicker as a result of it isn’t coated by face veneers so there’s no fear about telegraphing. Nonetheless, utilized banding glued to the ends of a lumbercore panel has scant lengthy grain to stick to—solely the sting of the crossband veneers. To enhance the bond, I mill a 1⁄4-in. tongue on these bandings and minimize a corresponding groove within the substrate.
|
|
|
For door panels, I take further measures for hinge screws. The basswood staves on the coronary heart of lumbercore don’t maintain screws nicely, significantly when they’re pushed into finish grain. To offer further screw buy, I minimize a mortise into the core the place there can be screws and insert a maple plug, which is then coated by the edge-banding.☐
Timothy Coleman builds furnishings and teaches woodworking in Shelburne Falls, Mass.
Join eletters right this moment and get the most recent methods and how-to from Effective Woodworking, plus particular affords.